
If you’re searching for a lash studio in Glen Rock, NJ and you’re wondering whether reference photos will help (or just lead to an artificial look), you’re not alone. The truth is: lash reference photos can be incredibly useful—when they’re used to guide technique, curl choice, density, and your natural lash health. But when photos are treated like a “copy/paste” blueprint, the result can feel heavy, misaligned, or not quite right for your eye shape.
This article will help you decide what to bring, what details to point out, and how The Estetica uses your photos for a personalized, natural-looking design. By the end, you’ll know how to choose images that communicate the finish you want while still protecting your lashes.
Why reference photos matter (and when they don’t)
Reference photos help your lash artist understand the vibe you want—natural, soft glam, or more noticeable. However, lashes don’t sit on your face the same way they do in someone else’s photo. Your final look depends on your natural lash length, thickness, spacing, and lash cycle, plus your eye shape and how your lashes naturally grow.
Photos are best for showing the finish—not the exact placement
- Good photo cues: how full the lash line looks, whether the look is wispy vs bold, and how high/curled the eye appears.
- Less useful cues: the exact number of lashes, the specific brand, or trying to match a model’s eyeliner-style cat-eye placement.
The “same photo” can produce different results
Two clients can both love “classic lashes” in a photo, but one person may have very fine, short natural lashes while the other has longer, stronger lashes. A lash set that looks perfectly balanced on one face can feel heavier or more dramatic on the other. That’s why we treat photos as direction—not a direct copy.
What The Estetica reads from your photos
- Curl level: are the lashes more lifted or more “open-eye”?
- Density feel: soft and airy, or bold and packed?
- Length distribution: does the look stay close to the lid or extend more outward?
- Shape preference: straight, cat-eye, or slightly flared effects.
What to bring to your appointment: photo categories that actually translate
Instead of bringing one screenshot, bring 3–6 images that each communicate one key aspect of the finish you want. This makes your consultation faster and reduces the chance of miscommunication.
1) “Your vibe” photo (the overall look)
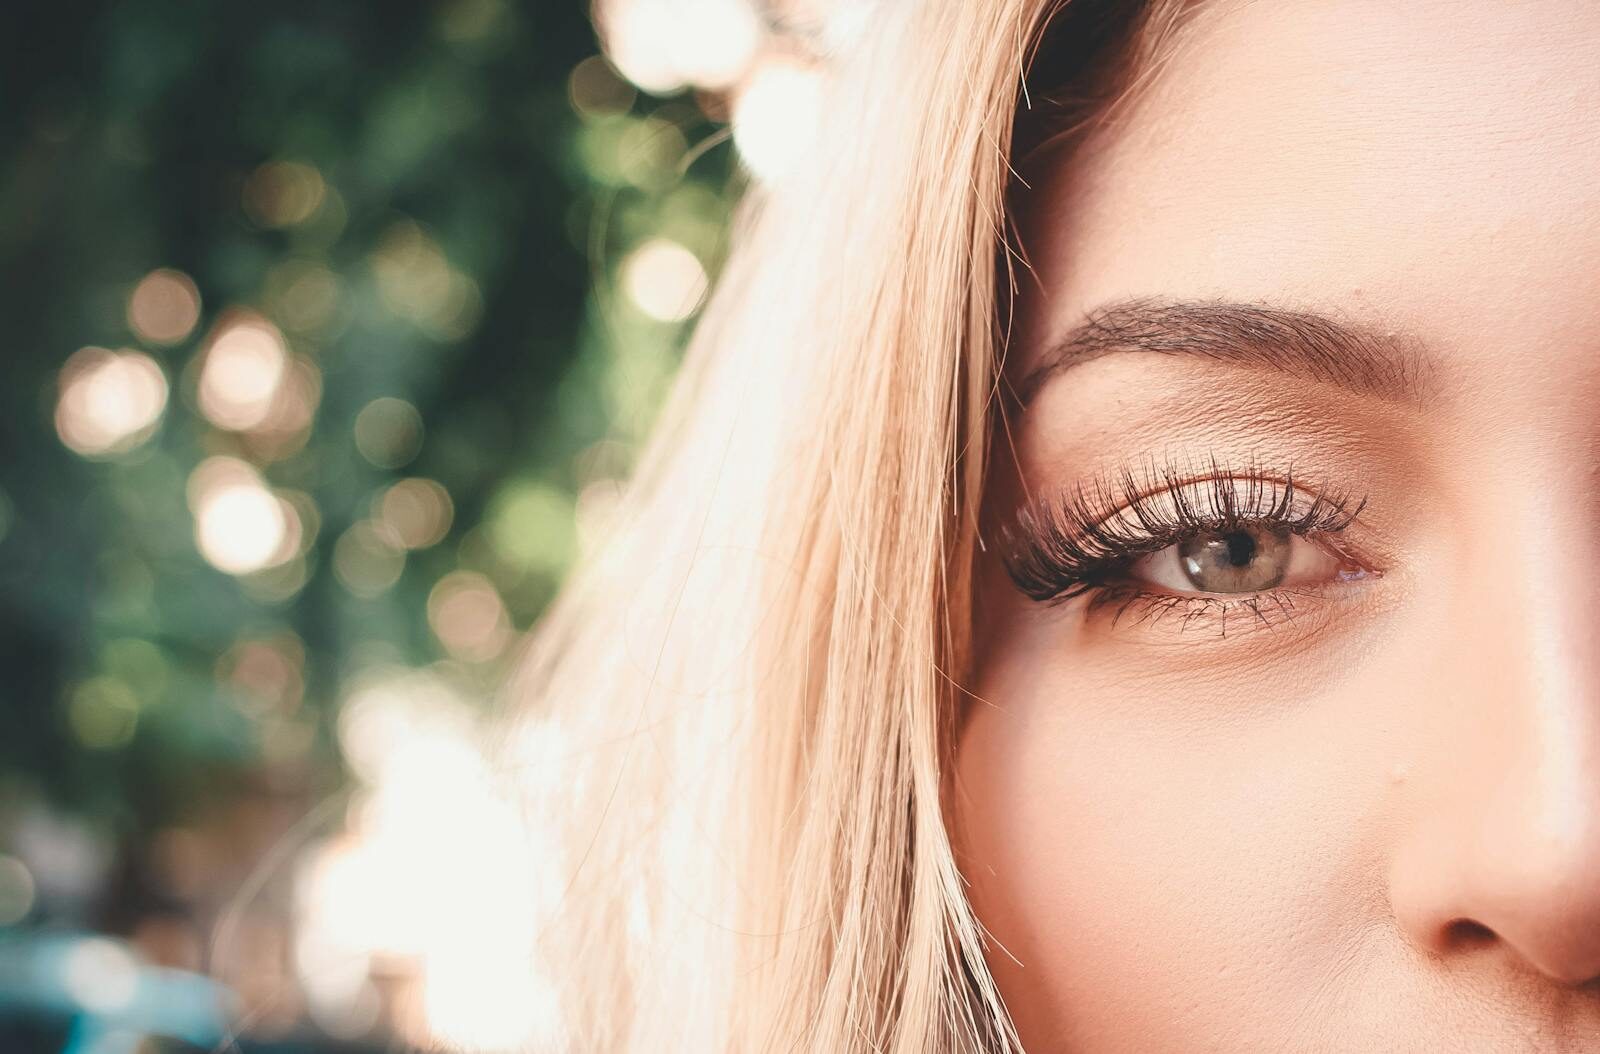
Pick one image that represents the final effect: natural, soft glam, or more dramatic. If you’re unsure, choose a photo where you can clearly see the lash line and not just the end lashes.
2) A “density” photo (how full you want it)
Some people want classic lashes that are visible but still clean and refined. Others want hybrid lashes (classic + volume texture) for more dimension. If your photo shows wide gaps, you may actually be looking for a lighter set than you think.
3) An “eye-shape” photo (only if it’s similar)
If the model’s eyes match your shape—hooded, almond, or more round—your lash artist can better estimate the right direction and lift. If the eye shape is very different, focus more on the lash finish than the exact layout.
4) A “nope” photo (what you don’t want)
This is optional, but surprisingly helpful. If you already know you don’t want an overly spidery or extremely thick look, show it. It can steer your appointment toward a lighter, more natural result.
Quick photo checklist before you book
- Choose photos taken in natural lighting when possible.
- Avoid heavy filters that change lash color or thickness.
- Bring at least one image where the lashes are visible from the front (not only profile).
- If you’re booking a lash lift, include photos with similar eye openness and curl preference.
Reference photos vs real lash design: what your artist will customize
Even perfect reference photos can’t account for your lash structure. A great lash appointment turns your inspiration into a design that fits your lashes, not someone else’s.
Natural lash health determines what’s possible
Professional application and appropriate weight matter. Your lash artist should consider your natural lash length, thickness, and how many lashes can safely support extensions or achieve a lift without overloading. If your lashes are in a fragile phase, the design may be adjusted to protect them.
Eye shape affects how the lash line should “read”
Lash placement is about the optical effect—opening the eye, balancing the outer corner, and aligning with how your lashes grow. Photos help with the goal, but technique determines the fit.
Curl, length, and density are the real translation of “the look”
When clients say, “I want it like this photo,” the most important specifics usually include:
- Curl: influences lift and whether the look feels soft or dramatic
- Length: how far the lashes extend and how visible they are from the front
- Density: how packed the lash line feels (airiness vs full-on glam)
- Distribution: where the longest lashes land (center vs outer corner emphasis)
| Photo says you want… | Your lash design may translate to… |
|---|---|
| Soft, lifted, natural “wake-up” look | Lighter density classic lashes or subtle hybrid, balanced length and curl |
| More visible, lifted, still clean | Medium density classic or hybrid with carefully placed outer-corner lift |
| Bold volume / dramatic effect | Volume-style set with appropriate weight distribution and eye balance |
Common mistakes with photos (and how to fix them)
- Mistake: Choosing a photo that’s only side-profile.
Fix: Bring at least one front-facing photo so we can match the lash line and spacing. - Mistake: Picking a photo that’s too dramatic for your natural lash foundation.
Fix: Ask for a “similar vibe, lighter weight” version. - Mistake: Thinking the longest lashes in a photo are what you need.
Fix: Choose photos where the overall balance looks right, not just the longest point.
Lash lift, lash extensions, and brows: how reference photos work differently
Not all lash services translate the same way. Photos can help across services, but the goal is different.
When reference photos are best for lash extensions
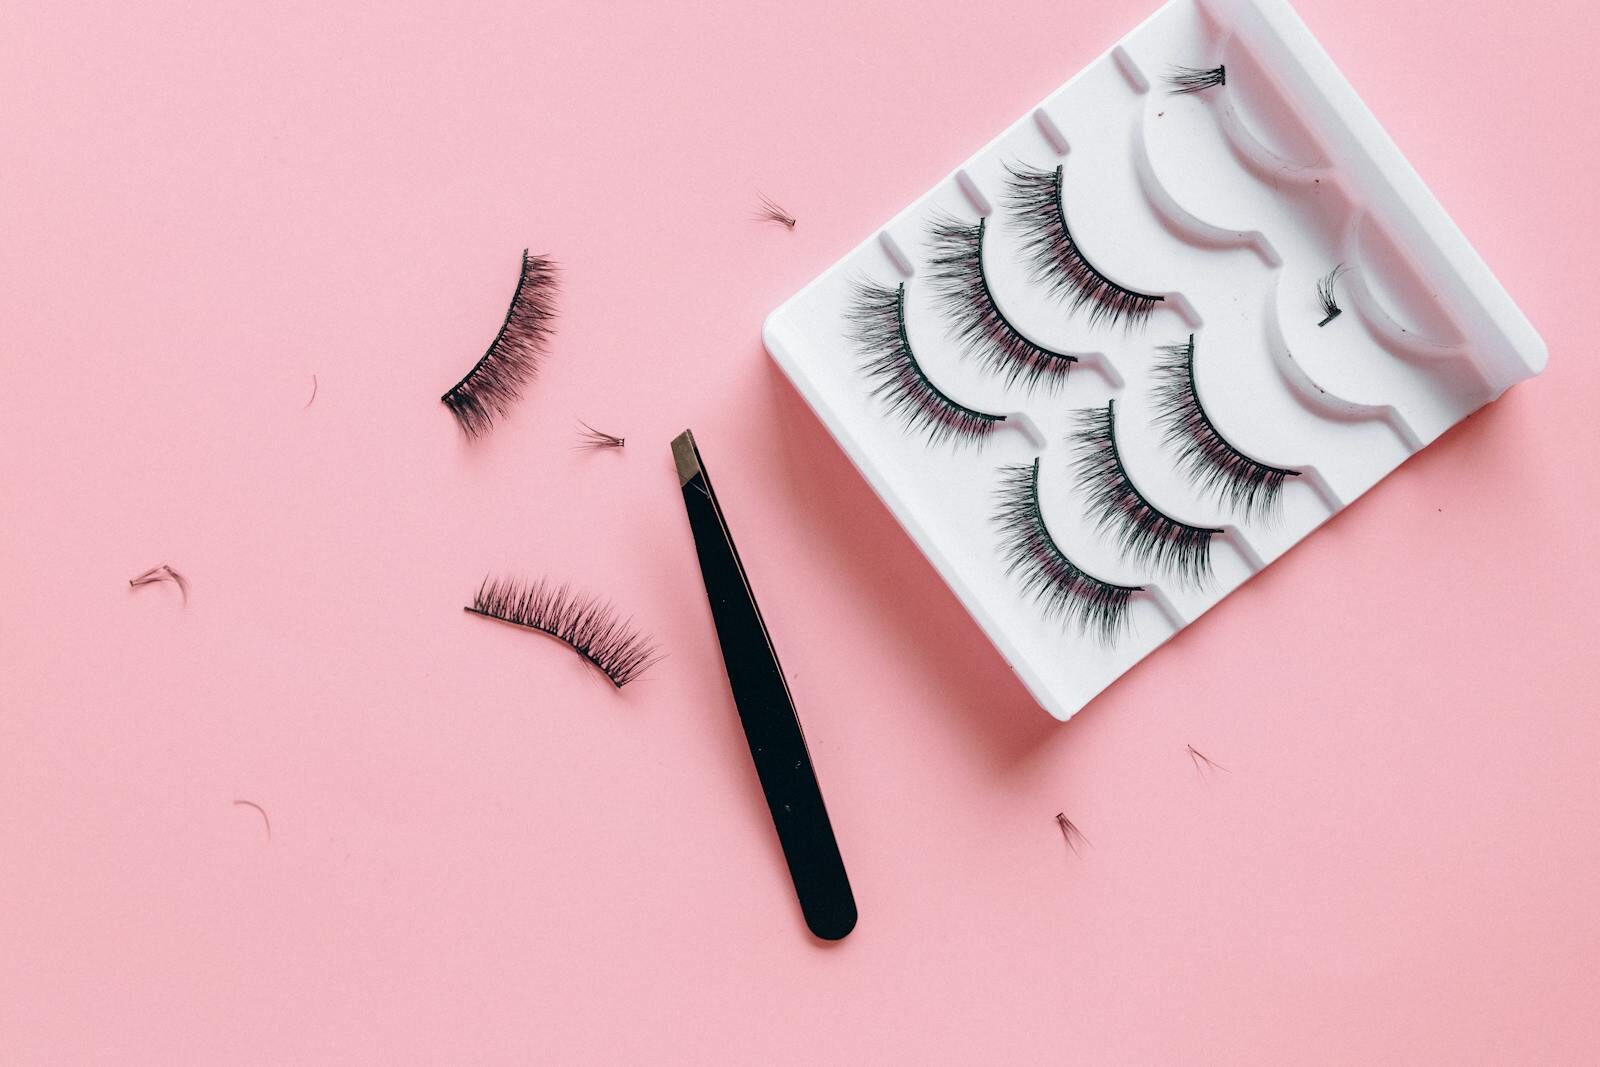
For lash extensions, photos are excellent for understanding how full you want the lash line to look and what kind of “spark” effect you prefer. You’ll typically be choosing a curl feel (lifted vs more open) and density level (airy vs glam).
- If you want everyday: bring photos that show natural spacing and gradual length changes.
- If you want special-occasion glam: bring photos that show a more defined outer-corner finish.
When reference photos are best for a lash lift
A lash lift enhances and reshapes your natural lashes with a perming process. Reference photos help you visualize the curl and openness effect, but it can vary based on your natural lash length and how your lashes respond. If you want a strong “extension-like” effect, photos can guide the target, but your artist may recommend extensions if your lashes would need extra support.
- Choose photos with similar eye openness so the curl effect looks comparable.
- Bring a photo of the curl goal (not just the final darkness/volume).
What about brow services and waxing?
If you’re also booking brows (like brow tinting or brow lamination) or waxing, reference photos can be helpful for shape preference. But brow outcomes depend on your natural hair growth pattern and face balance. For brow shaping, photos work best when they show the overall eyebrow silhouette rather than a perfect “filter” brow.
Simple service-fit guide for your photo folder
- Lash extensions photos: show the lash line from the front and include how full the look is.
- Lash lift photos: focus on curl/open-eye effect, not the appearance of individual strip-lash thickness.
- Brow shape photos: show the arch, tail, and how full the brow is from start to end.
How to ask the right questions during the consultation
Reference photos help you start the conversation, but the questions are what protect your result. Here are prompts that help your artist translate your goals into a plan.
Questions to ask about personalization
- “Based on my natural lashes, what density level would match this photo—light, medium, or fuller?”
- “Which curl and length range would create this lift effect without looking heavy?”
- “If my lashes don’t support the exact look, what’s the closest version you recommend?”
Questions to ask about maintenance and longevity
- “How often will I need fills for this look to stay balanced?”
- “What signs mean I’m approaching a refill window?”
- “What should I do to keep my lashes healthy between appointments?”
Aftercare basics to protect your result
Aftercare matters as much as the appointment. While your exact routine may vary by service, use this checklist as a starting point:
- Use lash-safe, oil-free products near the eye area.
- Keep the lash line clean with an appropriate cleanser (as advised by your artist).
- Avoid rubbing or pulling at lashes and brow areas.
- Follow any “first 24 hours” guidance for your specific service.
What to expect after your appointment when reference photos don’t match exactly
It’s normal for the first set or first lift to look a little different from the inspiration image—especially after the initial settling period. What matters is that the design matches your eyes and that your lashes look balanced, comfortable, and intentional.
If you feel it looks too heavy
Sometimes a set can feel more intense at first, especially if you chose a higher-density photo. Talk to your lash artist promptly so adjustments can be planned. A good professional will focus on long-term lash comfort and wearability.
If you feel it looks too subtle
That can also happen when you choose a photo with a softer vibe or when your lashes need more time to support fuller coverage. With proper timing and a refill appointment, you can build toward your preferred look—without skipping lash health.
Signs it’s time to schedule a fill window (extensions)
- Noticeable gaps appear in the lash line
- Lashes start looking uneven from the outer corner to the center
- You see early shedding patterns affecting the overall balance
- Your preferred “photo finish” is no longer holding
Save-worthy: your “photo-to-plan” worksheet
Bring a note with:
- Vibe: natural / soft glam / dramatic
- Fullness: light / medium / fuller
- Curl feeling: lifted / moderate / more natural
- Eye emphasis: more outer corner / balanced / center focus
- Anything you don’t want: “no heavy tips,” “no spidery look,” “no thick spiderweb effect”
Next step: turn your inspiration into a safer, more accurate booking
Your best reference photos are the ones that communicate the finish—lift, fullness, and shape—while allowing your lash artist to customize for your natural lash health and eye shape. Before your appointment in Glen Rock, NJ or nearby areas, review your photo folder and bring 3–6 images: one for overall vibe, one for density feel, and one (optional) for eye openness. Then ask how your artist will translate that finish into curl, length range, and distribution.
If you want a personalized plan that stays elegant and natural-looking, book a consultation with The Estetica and bring your photos. We’ll help map your inspiration to a lash design that looks intentional from every angle—and fits your maintenance routine.