If you’re booking your first set of lash extensions, it’s normal to wonder how to prepare—especially if you want a natural result and you’re concerned about irritation or lash damage. At The Estetica in Glen Rock, NJ, we see the same first-timer questions: what to do the day before, what to avoid, what to bring, and how to make sure your new lashes look polished (not heavy) while supporting your natural lash health.
This guide walks you through exactly what to do before your appointment, what to expect during the process, and how to plan for aftercare and maintenance. By the end, you’ll know how to set yourself up for better retention, comfort, and the elegant look you’re aiming for—whether you’re leaning toward classic, hybrid, or volume lashes.
Before you book: choose the right fit for your eye shape and lifestyle
Your preparation starts before appointment day. A great first set is about more than curl and length—it’s about matching lash design to your eye shape, natural lash cycle, and daily routine. If you’re unsure, plan to discuss these items at your consultation so you can avoid a “too much, too soon” effect.
What to know about lash extensions before your first appointment
- Extensions are applied to individual natural lashes (with careful isolation) using a professional-grade adhesive.
- Your retention depends on natural lash health, proper application, and the way you care for lashes afterward.
- Not every style works for every eye. The “right” set is tailored: classic, hybrid, or volume should feel natural for your features and comfort level.
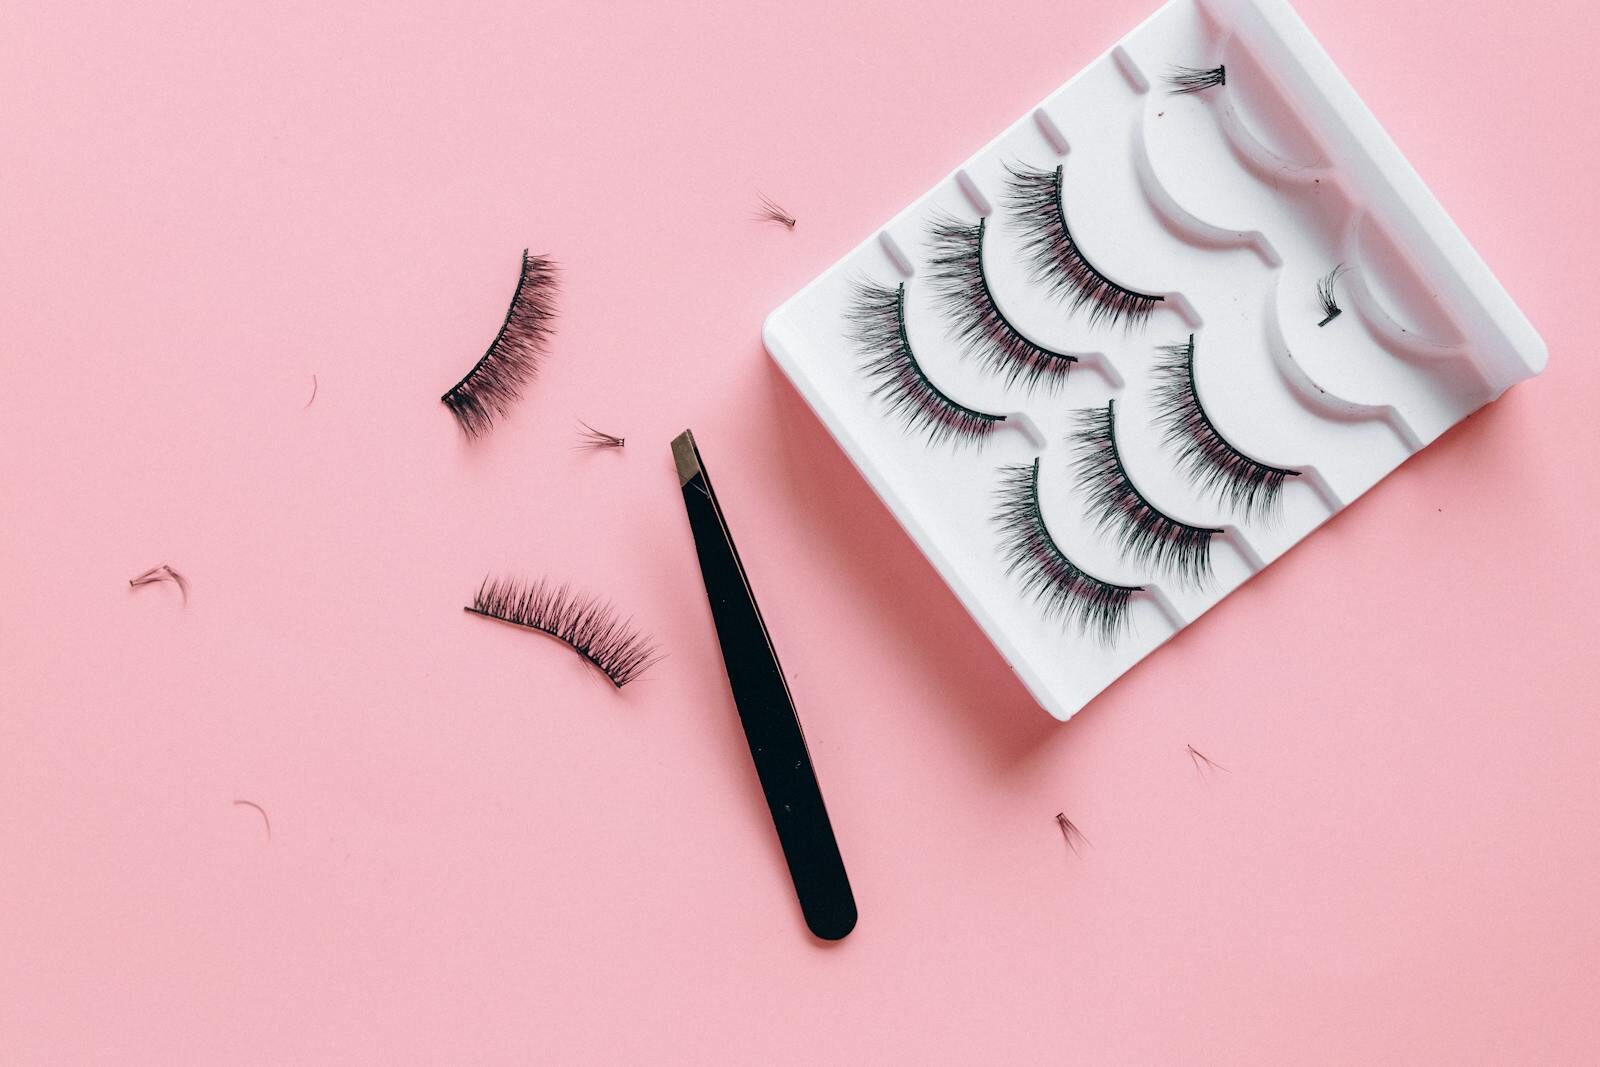
Bring the right references—without overcommitting
Inspiration photos help your lash artist understand the vibe, but preparation means selecting references that reflect your real life.
- Choose 2–4 photos that match the look you want (soft, wispy, classic length, or more defined glam).
- Look for shape cues (lifted outer corners, evenly distributed density, or a subtle “cat-eye” effect).
- Avoid choosing solely by length—very long looks can be stunning, but your natural lash strength and eye shape determine what stays comfortable.
What to do 24 hours before: your “retention checklist”
Preparation affects comfort and how long your extensions stay looking fresh. Use this 24-hour routine as your baseline.
24 hours before your appointment
- Skip oil-based skincare on the lash line (including heavy facial oils, oil cleansers, and balms).
- Avoid lash growth serums unless your lash artist specifically advises otherwise.
- Come with clean, makeup-free eyes—no mascara, liner, or lash glue residue.
- Hydrate your skin away from the lash line (dry skin can increase irritation and flaking).
- Plan your schedule: if you’re prone to eye sensitivity, avoid swimming or intense workouts right before appointment day.
Contact lenses: plan ahead
If you wear contacts, remove them before your appointment. If you have any history of eye irritation with adhesives or past lash services, mention it during check-in.

Day of appointment: how to arrive for a smooth, comfortable set
On appointment day, the goal is simple: arrive with clean lashes, minimal friction for your eyes, and clear expectations about your look.
What to bring
- Your inspiration photos (stored on your phone).
- A list of allergies or sensitivities (if you’ve experienced redness, burning, or swelling with adhesives before).
- Your lash goals: natural length vs. dramatic, and whether you want a softer or more lifted appearance.
What not to do before you sit in the lash chair
- Don’t use mascara (even “just a little” can create friction during prep).
- Skip eyelash curlers that morning.
- Avoid applying face creams too close to the lash line.
- Don’t come with wet lashes from the shower—arrive with your eyes fully dry.
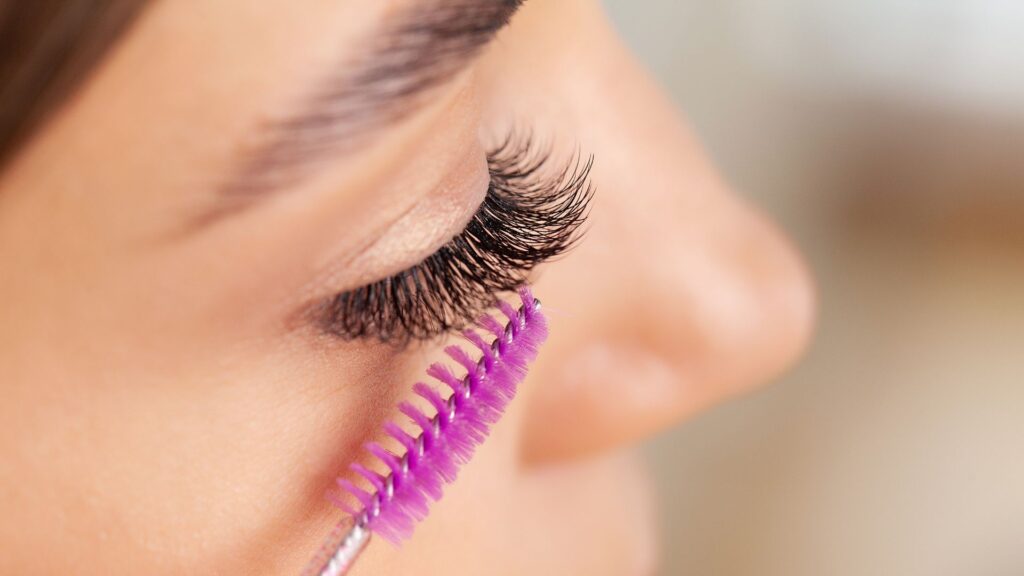
What happens during your first set (so you know what to expect)
Understanding the process helps you relax, which supports a more comfortable experience. While each client’s set varies, most first-time appointments follow a similar flow.
Step-by-step overview
- Consultation and lash mapping: your lash artist evaluates your natural lashes, eye shape, and desired effect (classic, hybrid, or volume).
- Gentle cleanse: lashes are cleaned to support proper adhesion and reduce buildup.
- Protection and comfort: your eyes and surrounding skin are kept comfortable while lashes are isolated.
- Application: extensions are placed carefully to build the look—usually beginning with outer-corner mapping for shape.
- Final check: we ensure balance, comfort, and that your set looks natural from multiple angles.
Important: If you feel unusual discomfort during application, speak up right away. Sensitivity can happen, and a professional should adjust the process as needed.
Aftercare: what to avoid in the first 24–48 hours (this is where retention is won)
After your lash appointment, your routine becomes part of the service. The first day is especially important because the adhesive needs time to fully cure and your extensions need to “settle” with your natural lash.
First 24 hours: aftercare rules
- Keep lashes dry (avoid steam rooms, heavy shower steam, and face spritzing).
- Skip touching, rubbing, or wiping your eyes.
- Avoid oil-based products around your lash line.
- Sleep face-up or on your back when possible to reduce shifting.
- Be gentle with cleansing—your lash artist will guide you on when and how to cleanse.
First 48–72 hours: set yourself up for long wear
- Use lash-safe cleansers when it’s time to clean (never improvise with random oils).
- Brush lashes lightly if your lash artist recommends it.
- Watch humidity-heavy activities (hot yoga, saunas) until your professional says it’s okay.
How often you’ll need maintenance: fills vs. full removal
Lash extensions shed naturally along with your lash cycle. Maintenance keeps your look even and prevents overgrowth gaps from changing the shape you loved on day one.
| What you’re noticing | Most likely cause | Typical next step |
|---|---|---|
| Lashes look uneven or sparser | Natural shed + retention variations | Schedule a fill during your maintenance window |
| Extensions feel heavy or irritated | Too much weight for your natural lashes or product buildup | Bring it up—your lash artist may recommend adjustments or a cleanse plan |
| Lots of gaps or the set looks “different” overall | Waiting too long between appointments | Discuss whether a full set or refresh is the best reset |
Signs you may be ready for a fill
- Your lash line looks less full than when you left your appointment.
- Outer corners start to look patchy or less lifted.
- You notice more movement or tangling as some extensions shed.
- You’re approaching your planned maintenance window.
Common first-timer mistakes (and how to correct them right away)
Even with the best intentions, first appointments can come with a learning curve. These are the most common issues we help clients fix—so you can avoid them from the start.
Mistakes that reduce retention or cause discomfort
- Using oil-based products too close to the lash line: switch to oil-free formulas and keep heavy skincare away from lashes.
- Waiting too long between fills: gaps can change the look; schedule within your maintenance window.
- Picking a style only by photo length: true “natural” comes from weight and distribution matched to your lashes.
- Rubbing your eyes: even light rubbing can loosen extensions and increase irritation risk.
- Skipping cleansing: buildup can affect comfort and how extensions hold over time.
If you’re experiencing irritation
If you notice unusual burning, swelling, or persistent discomfort, contact your lash artist promptly and consider seeking medical evaluation if symptoms feel out of the ordinary. Everyone’s sensitivity is different, and a careful, responsive approach matters.
Choosing classic, hybrid, or volume as a first set: a simple decision guide
Your first appointment is a great time to pick a style that fits your comfort level and maintenance plan. Here’s a practical way to match your desired look to a service category.
| Style | What it looks like | Best for | Maintenance feel |
|---|---|---|---|
| Classic lashes | Natural, defined enhancement | First-timers who want subtle definition and lighter feel | Often a comfortable, straightforward routine |
| Hybrid lashes | Classic + a touch more fullness | Clients who want soft glam without going fully dramatic | Great “middle ground” for everyday |
| Volume lashes | More density and dramatic impact | Clients ready for a fuller look (and willing to commit to aftercare) | May require more attentive maintenance and comfort monitoring |
Pro tip for first-timers: if you’re nervous about looking “too much,” consider starting with a lighter classic or hybrid direction. You can always build during future fills when you know how your lashes and routine handle extensions.
Local prep checklist for Glen Rock, NJ clients
If you’re coming to a lash studio in Glen Rock, NJ or nearby areas, use this quick checklist the night before your appointment so you don’t miss anything.
- Clean lashes: no mascara, eyeliner, or lash styling products.
- Oil-free eye area: avoid oils and heavy balms near the lash line.
- Plan for comfort: bring a hoodie or light layer for the appointment (many clients find it helps them relax).
- Save inspiration photos: 2–4 images that match the natural level you want.
- Schedule realistically: give yourself time to rest after—especially if you’re sensitive.
When you’re ready to start, The Estetica will help you choose a personalized lash design that supports natural lash health and your ideal level of definition—so your first set looks like you, just more refined.
Next step: review your current skincare and eye makeup routine, select a couple of inspiration photos, and book your first consultation. Bring your questions about classic vs. hybrid vs. volume, and we’ll map a natural, comfortable plan for your lashes.